
Search


£9.20
Heavy Duty Headlight Restoration Kit Car Lens Lamp Cleaning Sanding Repair Tools
Sold by KJRet
Select options
Default
Shipping
£5.99

KJRet
551 items
Shop performance
Better than 54% of other shops
4+ star rating
57%
Ships within 2 days
61%
Responds within 24 hours
78%
Product description
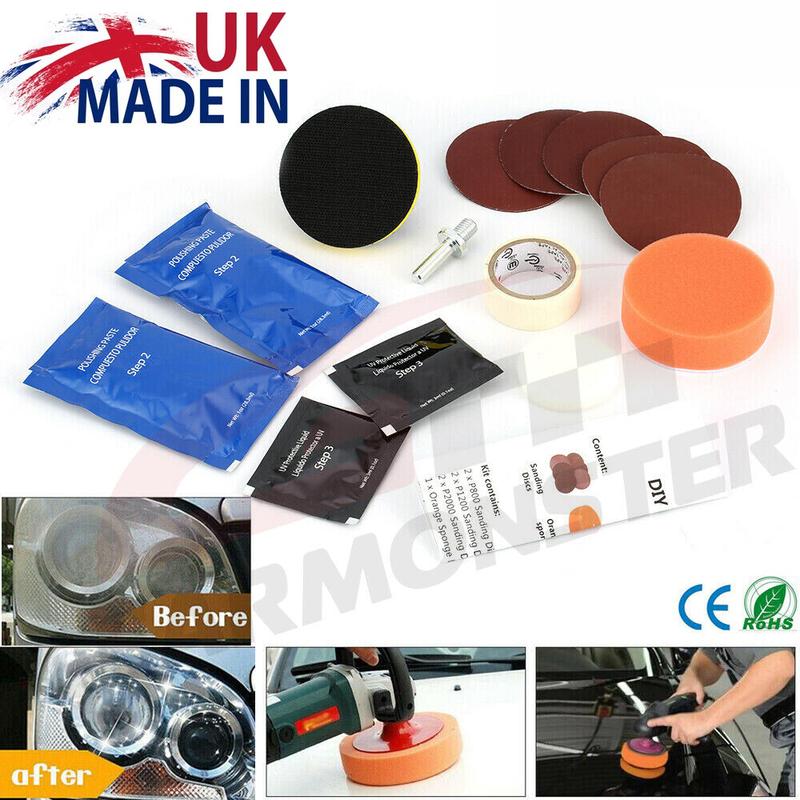
Heavy Duty Headlight Restoration Kit Car Lens Lamp Cleaning Sanding Repair Tools

Features:
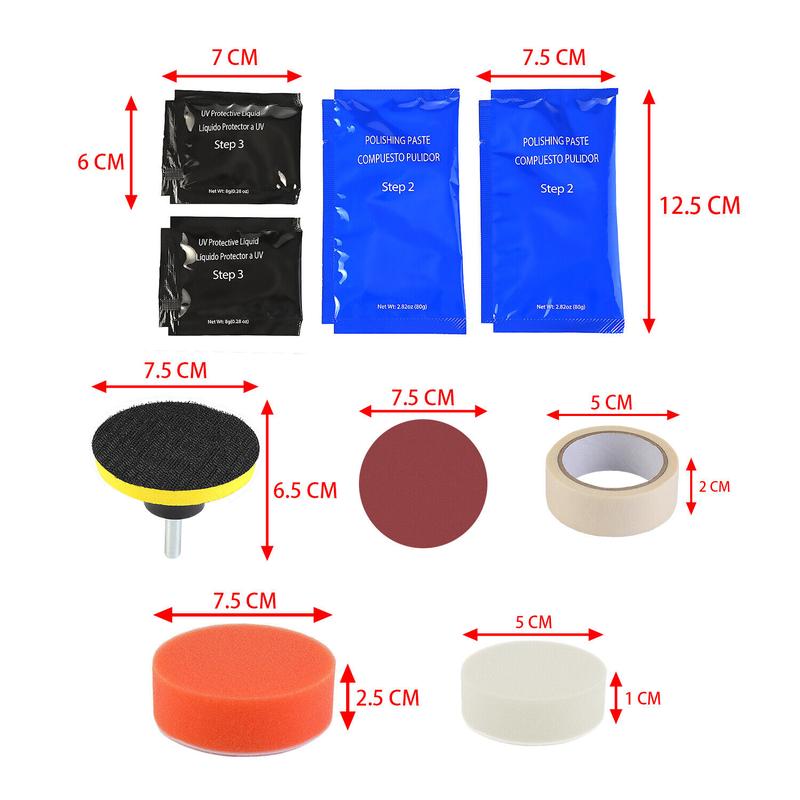
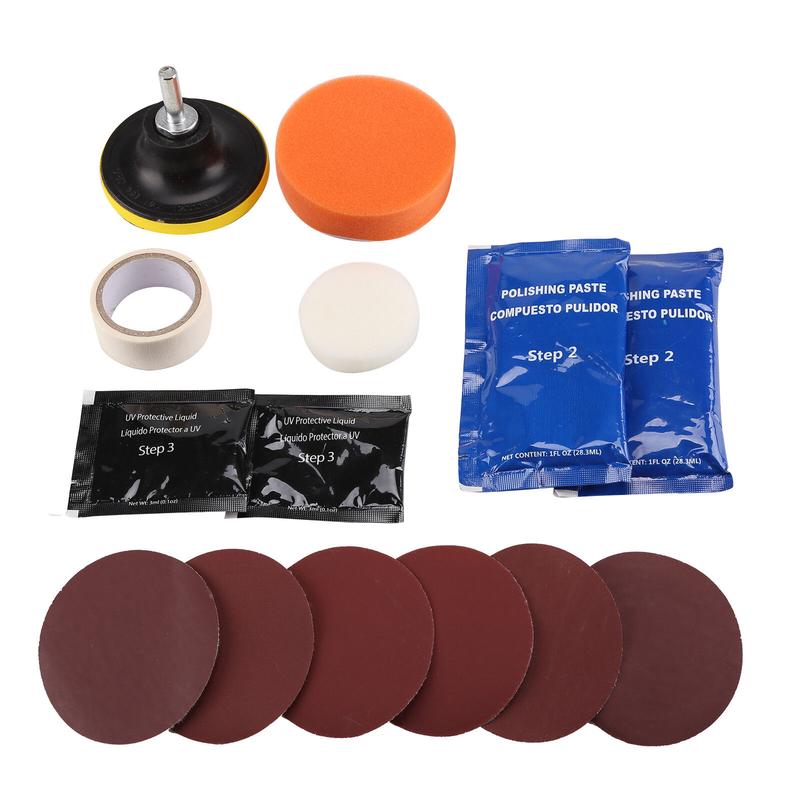
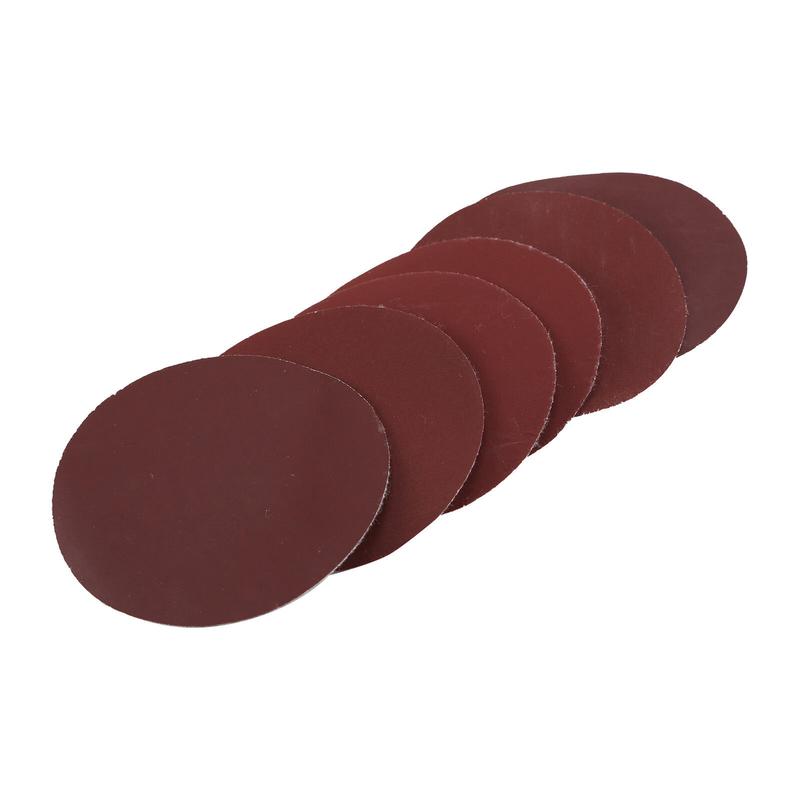
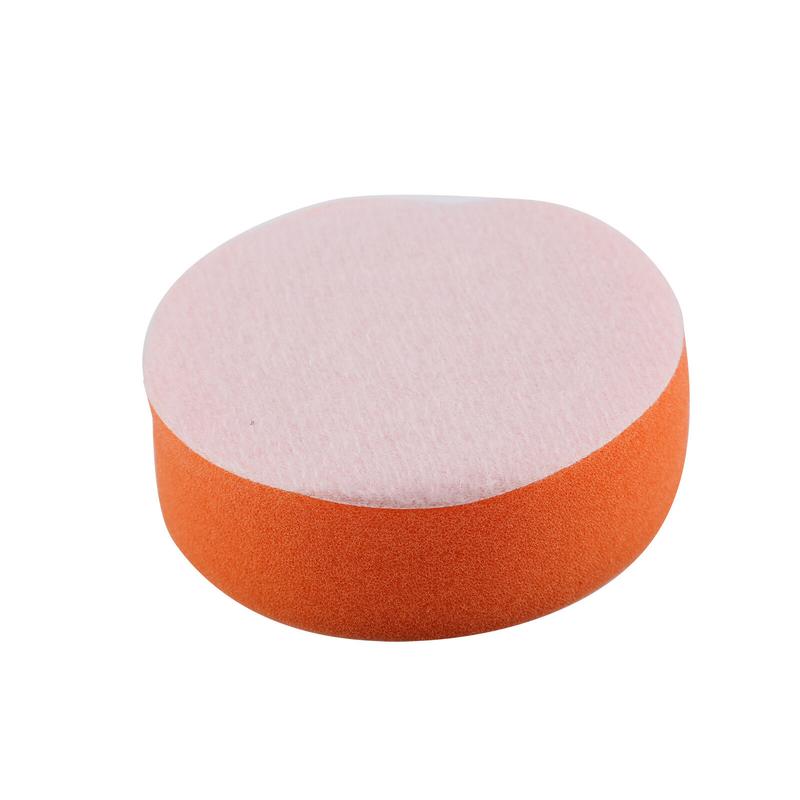
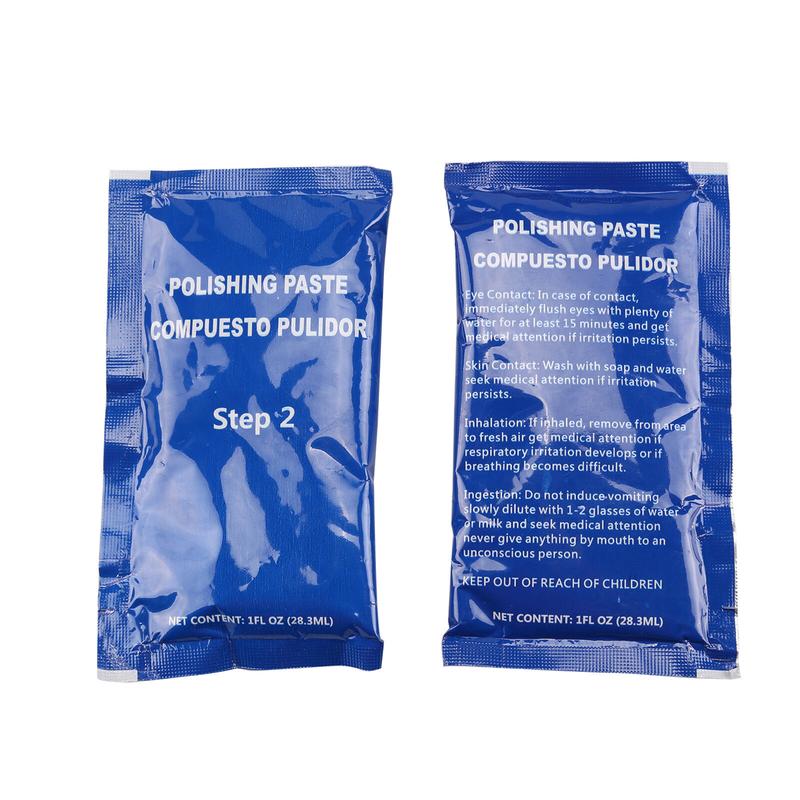
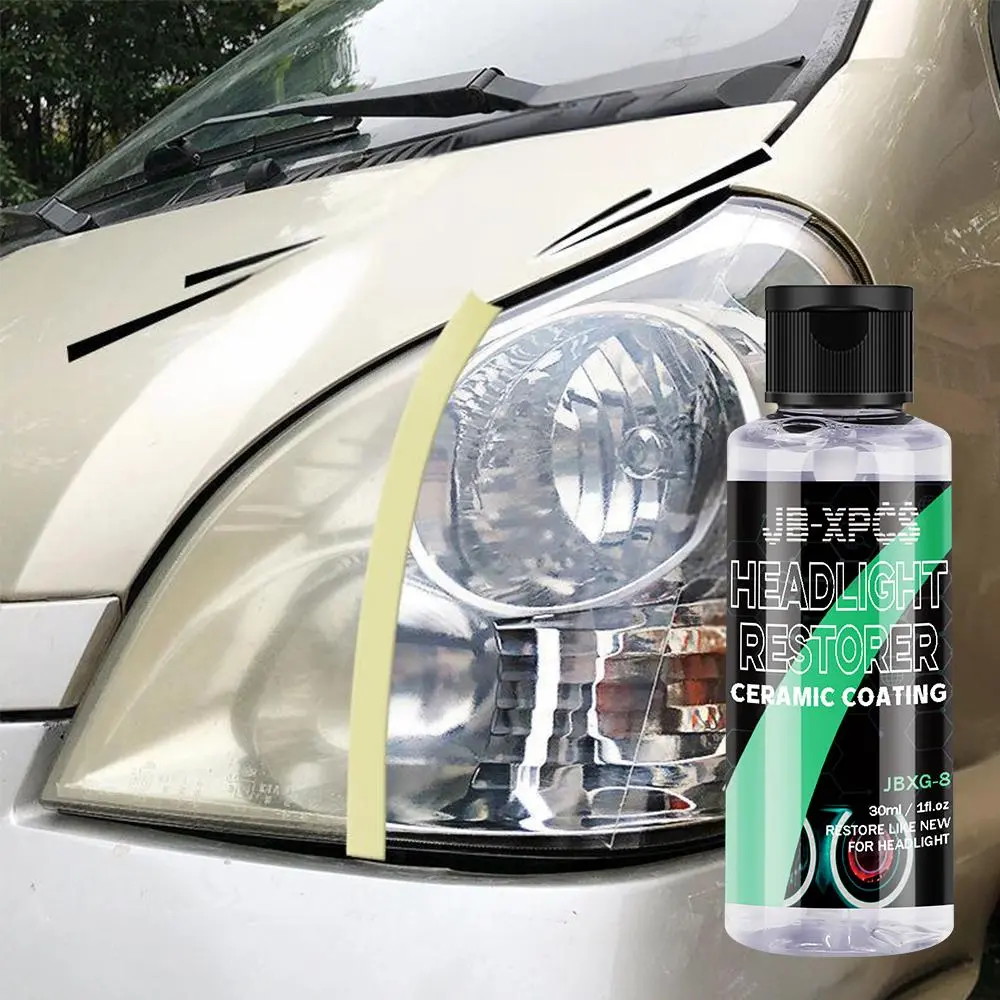
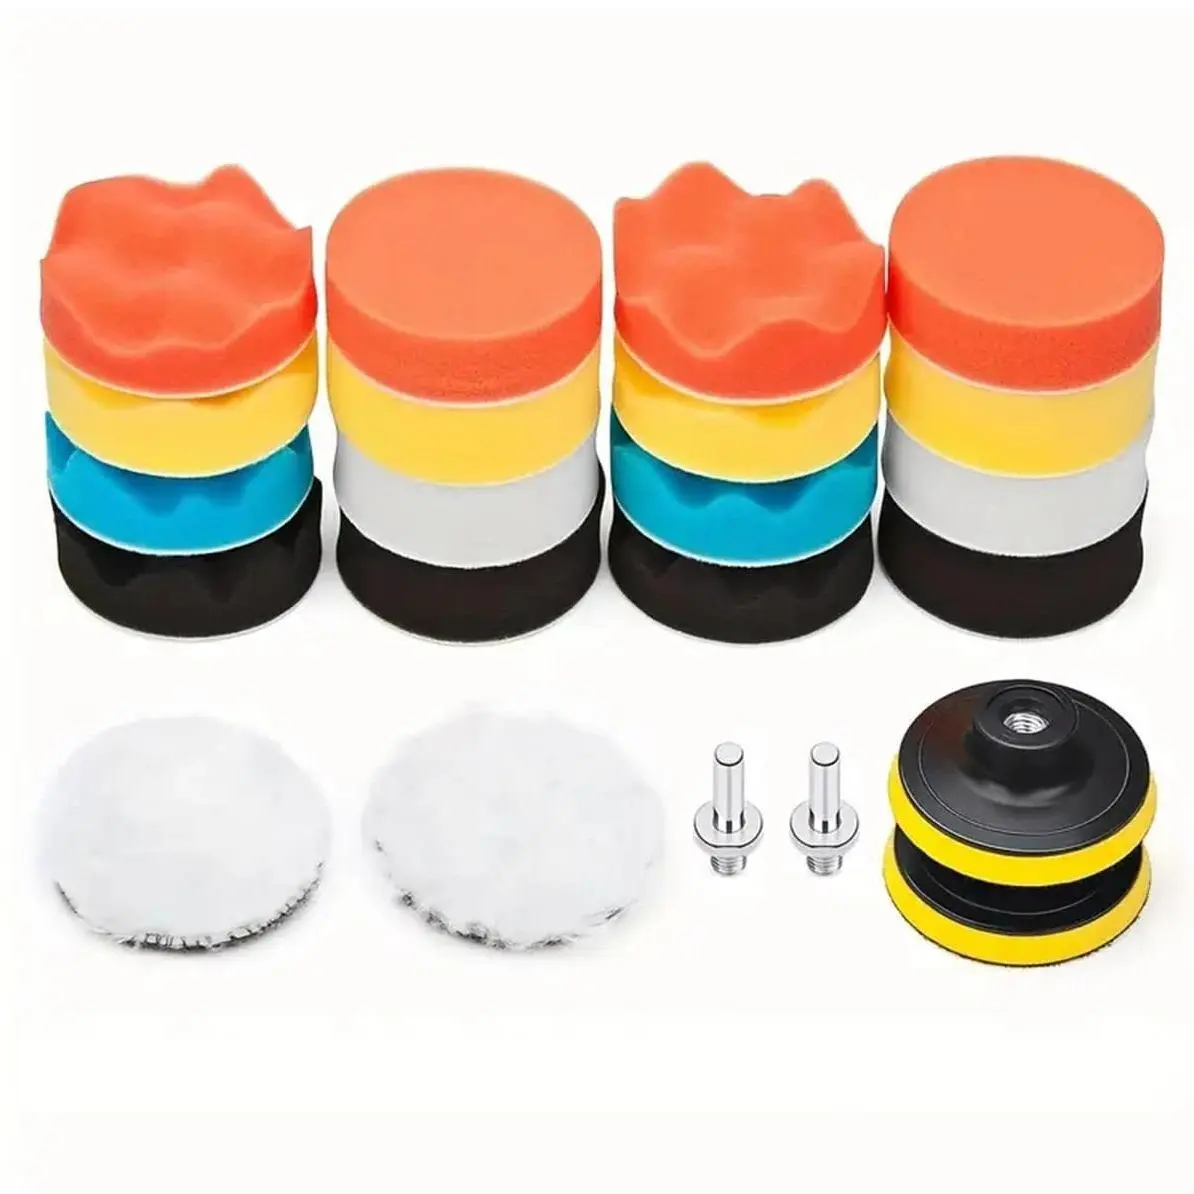
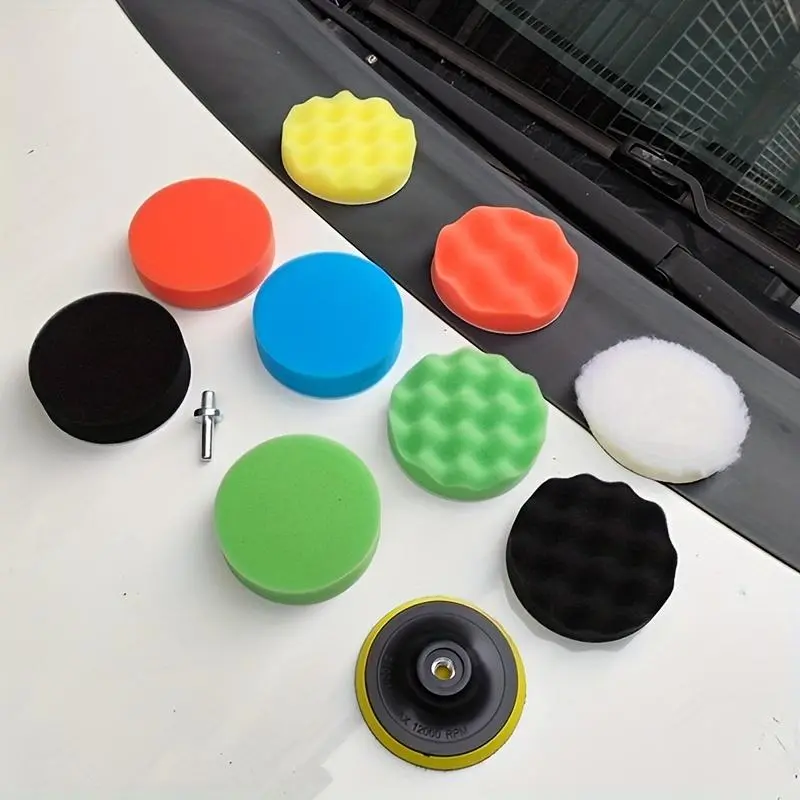
Headlight Restoration Kit.Designed to restore clarity to headlight lenses that have turned yellow, cloudy or foggy.It includes different grades of sandpaper, polishing discs, sponge discs, polishing paste, protective sealing fluid, masking tape, backing pads.
.DIY Headlight Polishing Kit.The DIY Headlight Polishing Kit can effectively remove scratches, oxidation and other blemishes, restore the clarity and shine of your headlights.
.Lightweight and easy to carry.The headlight restoration kit is lightweight and easy to carry.It will repair your headlights and improve your nighttime driving visibility with the headlight restoration kit.
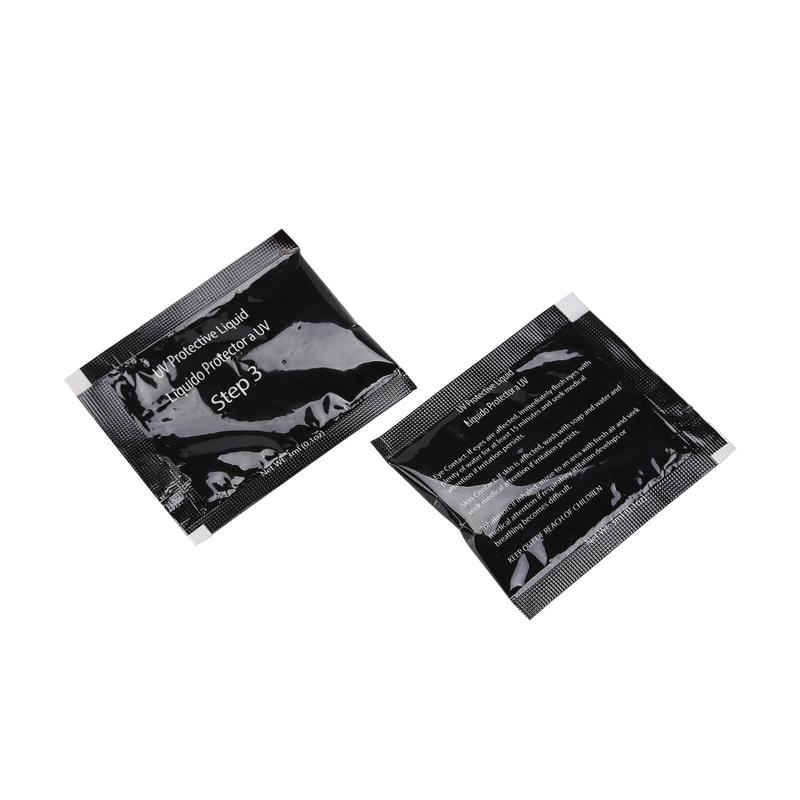
.Long-lasting protection.The included protective sealing fluid not only restores your headlights, but also provides long-lasting protection against UV rays, yellowing and further damage.
.Long-lasting protection.The included protective sealing fluid not only restores your headlights, but also provides long-lasting protection against UV rays, yellowing and further damage.
.Long-lasting protection.The included protective sealing liquid not only restores your headlight, but also provides long-lasting protection against UV rays, yellowing and further damage.
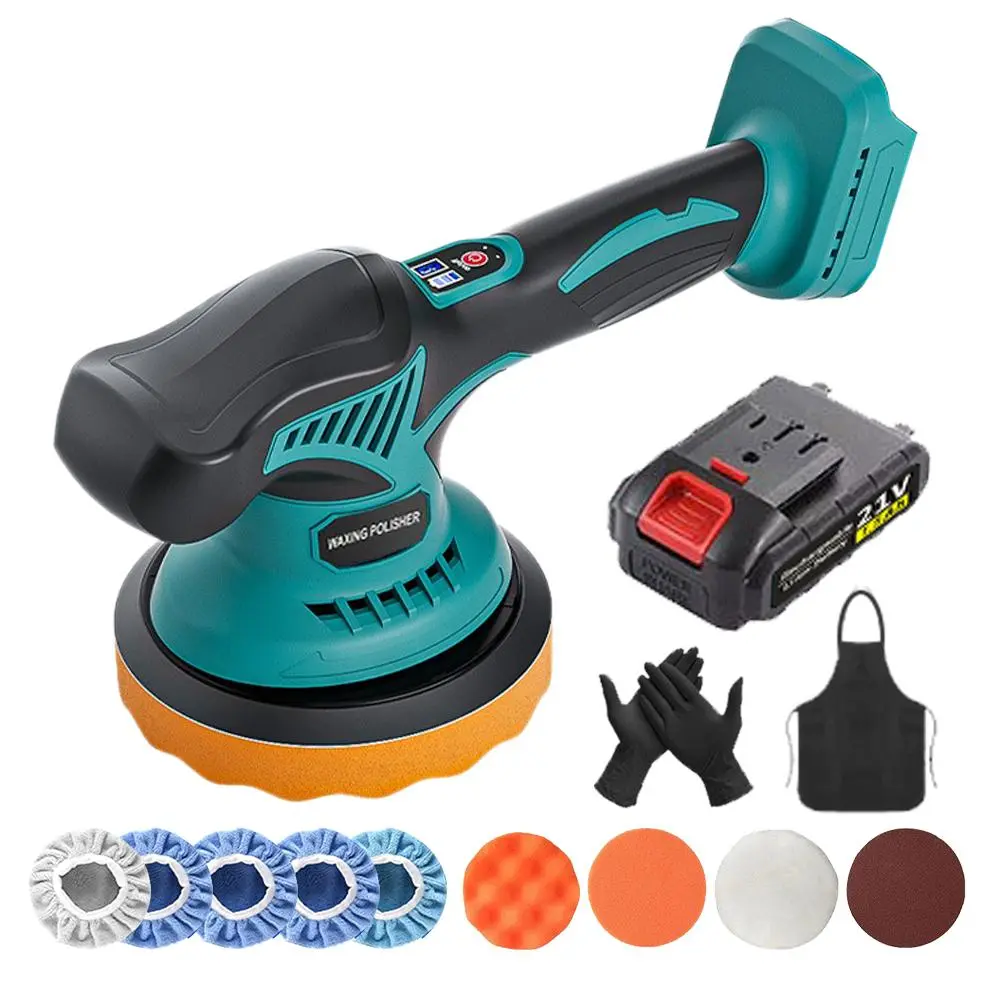
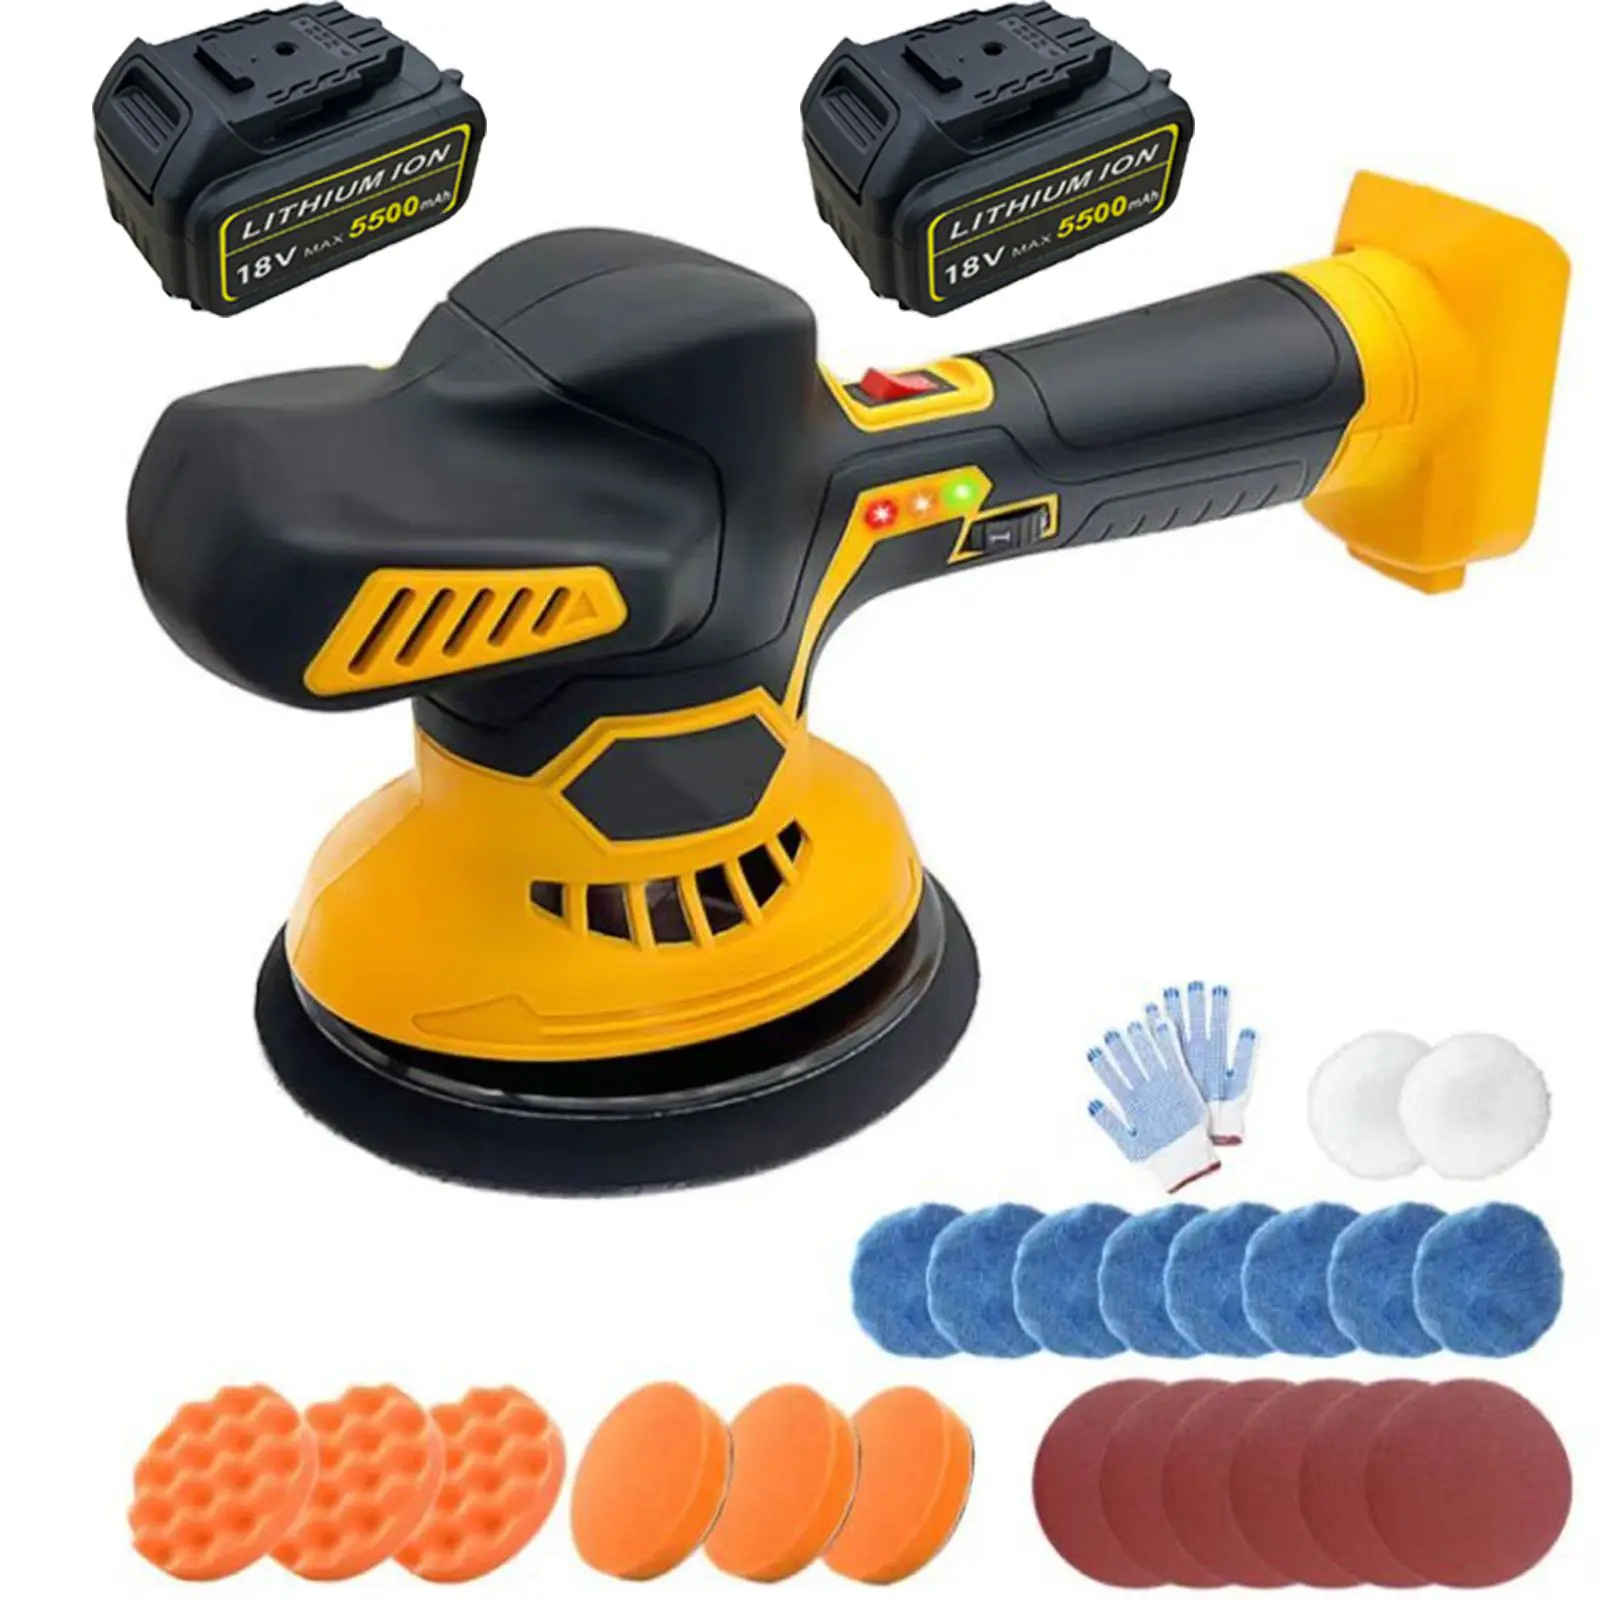
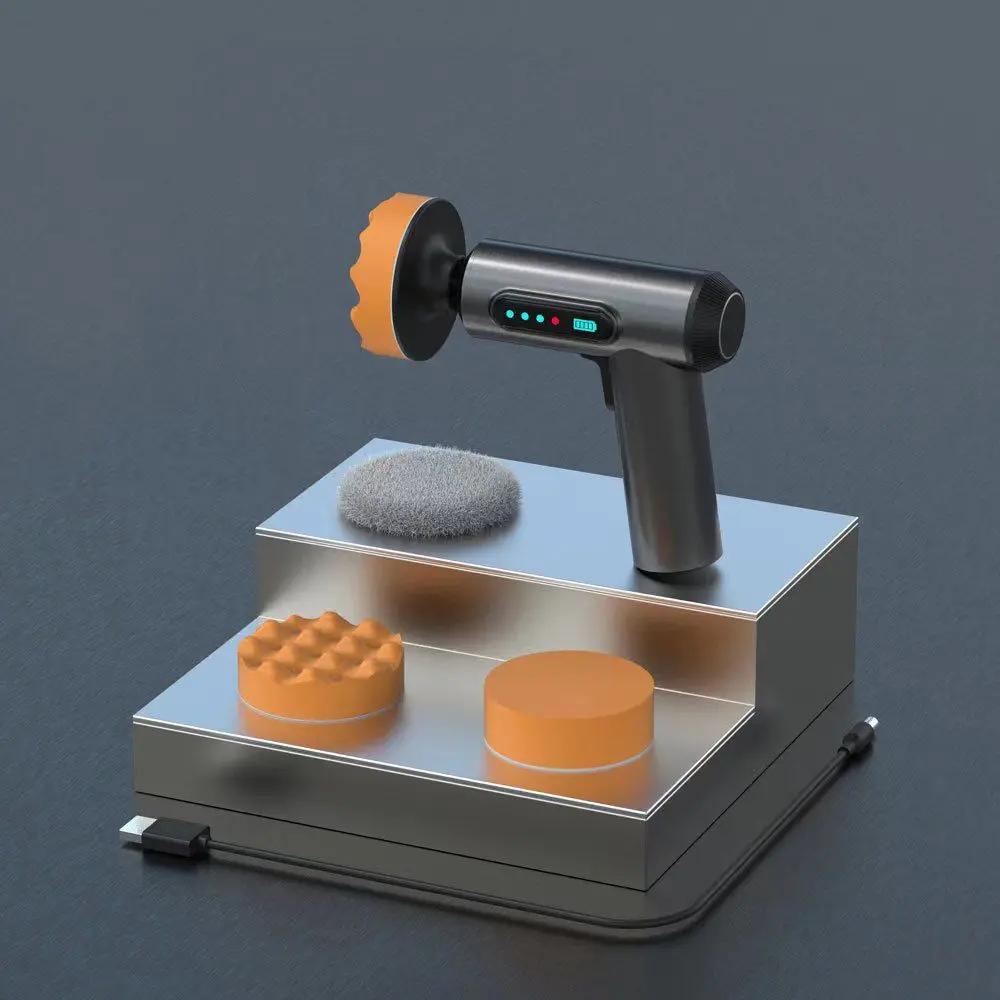
.Easy to use.The kit comes with an instruction manual to guide you through the repair process step by step.If polishing by hand, it is recommended that you polish clockwise for no less than 200 circles.If you use a polishing machine, the effect will be better.
Specifications:
Name: Headlight Restoration Kit
Size: Approx.11*20*7cm
Storage: Store in a cool and dry place
How to use:
Step 1: Clean the headlight lens with water and prepare the lens.Cover the area around the lens to avoid scratching nearby painted surfaces.Install the disc to the sanding tool, use a sander if you have one, and sand by hand if you don't.Use sandpaper from coarse to fine P800-P1200-P2000.(Note: The polishing effect is known to completely polish the yellowing oxide on the surface of the lamp.Some headlights are yellowed inside and cannot be operated).
Step 2: Replace the yellow sponge and apply the blue bagged repair scratch polishing liquid to operate.Polishing takes about 5 minutes.(Note that this operation can be carried out until there are no visible polishing marks on the surface of the lamp.)
Step 3: Clean the headlight and make sure the lens is dry before proceeding to the next step. Make sure not to be in the sun when performing this step (very important). Using the white sponge disc kit, apply an even layer of protective liquid on the surface. Let the protective liquid sit and dry for 15 minutes. Then, let the protective liquid cure in direct sunlight for 1 to 2 hours. (Note: Keep the lens dry and do not wash the car within 24 hours.)
Explore more from KJRet


![[30% OFF] Car Wireless Polishing Machine, Cordless Car Buffer Polisher Kit USB Charging Digital Display for Household Car Detailing/Waxing](https://p16-oec-eu-common-useast2a.ibyteimg.com/tos-useast2a-i-tulkllf4y5-euttp/1c1e311885634e16a3c6dff9e99802aa~tplv-tulkllf4y5-crop-webp:1000:1000.webp)
![[30% OFF] Cordless Car Polisher with 4000mAh Rechargeable Battery, 20000 RPM Speed, 3 Polishing Pads, Cordless Car Buffer Polisher Machine Kit for Car Care Clean Detailing Polishing Waxing](https://p16-oec-eu-common-useast2a.ibyteimg.com/tos-useast2a-i-tulkllf4y5-euttp/e6a23faabc384d019068b5afe772d49c~tplv-tulkllf4y5-crop-webp:960:960.webp)
No more products
Open TikTok